You have no idea how many features are actually built into the the Instagram story tool! Instagram doesn’t really explain the basics, so that’s where I come in. I wrote this complete Instagram Story Guide so you can make the most out of the app without having to download anything. We are going over all built in features in this article.
The Complete Instagram Story Guide
Open your story feature by clicking on your profile picture or simply by swiping on from your home feed, where you see the new posts of all the accounts you are following.
Now you are in the Instagram story mode, your camera will have turned on. Let’s tackle every icon we see on our screen right now.
The basics to get started
It’s important to understand the basics before we get into the really creative stuff.

Story settings
The gear in the top left corner gives you the option to control who gets to see and engage with this specific story update. You can select people you want to hide it from or you can choose to only show your story to your close friends list. You also have the option to control who gets to send a reply message and to turn sharing on or off. Lastly there’s the part where you can toggle the option to automatically save your story to your camera roll, archive or your connected Facebook account.
Return
Moving on to the top right corner, you’ll find an arrow pointing right. This is simply the button you press to go back to your home feed. This can also be achieved by swiping left.
On the bottom of the screen you’ll find two rows of icons and text. We’ll be going through the top row first, from left to right.
Camera roll
First there’s the camera roll button, which is visualized by a tiny square showing the latest picture that was saved to your camera roll. By clicking this, you will be able to select a picture or video from your camera roll to insert into your story.
Flash
Then there’s the lightning bolt item, which corresponds to your phone’s flash. If the icon looks like the outline of a circle with a white lightning bolt inside, it means the flash is turned off.
By tapping once, the circle will be filled in and the lightning bolt will turn transparent: this means the flash is turned on.
Tap once more to make a little A appear next to the lightning bolt: this means the flash is set to auto, leaving your phone in charge of whether or not the flash will be used, based on the current lighting.
Tap again to turn the flash off again.
If it’s really dark there will be a fourth option: a moon icon. This means the brightness of your camera will go up to act as night vision.
Capture
The middle icon is the capture button. This is the button you want to tap when taking a picture using your camera.
Tap and hold to film instead. While filming, you can zoom in and out by moving your finger up and down the screen (keep holding!) and the pink circle that’s moving around your capture button shows the progress of the clip.
Swap camera
To the left, there’s an icon that shows two rounded arrows. This is the button you want to tap to swap between your front and back camera. This can also be used while filming.
Face filters
All the way to the left you’ll find a happy smiley face. This is the feature that allows you to use face filters.
Filming features
The bottom row consists of fun features to spice up your stories.
- Type: This allows you to type text. Use the top buttons to change your font and pick a background colour by tapping the coloured circle on the bottom left.
- Live: Are you brave enough to do a live session? This feature allows you to lifestream and notifies your followers so they can tune in.
- Normal: This is the standard mode.
- Boomerang: Create fun boomerang clips that play on a loop.
- Superzoom: This creates those fun video effects and zooms with fitting background music. Play around with the different superzoom options that appear on your screen.
- Focus: Find a face and create a nice focus effect to make the background blurry.
- Rewind: As expected, this feature will play your clip backwards.
- Hands-free: This feature will film a full clip, without you manually holding the record button.
Related post: How to create a cohesive Instagram feed that attracts followers
Covering all built in features
Once you have picked an image or clip from your camera roll or captured something new, the icons will change. Let’s have a look at them now. This is where it gets fun!

Redo
In the top left corner you’ll find an X, in case you want to redo your shot. You’ll be send back to the previous screen where you can capture a new picture or clip.
Save to camera roll
A bit to the right, you’ll find an arrow pointing down with a little stripe under it. This is the save button, in case you want to save the current image or clip to your camera roll.
Face filter
Next to it there’s another happy smiley face, in case you have second thoughts and want to add a face filter anyway.
Stickers
Then there’s one of my favourite features: the stickers! It looks like a smiley face in a square with the bottom right corner peeling off. You can also access this feature by swiping up. You’ll get a new tab with a search bar and countless visual options. This is how you add location tags, GIFs, polls, questions, countdowns, quizzes and other cute images to your story. Can’t find what you’re looking for? Try the search bar!
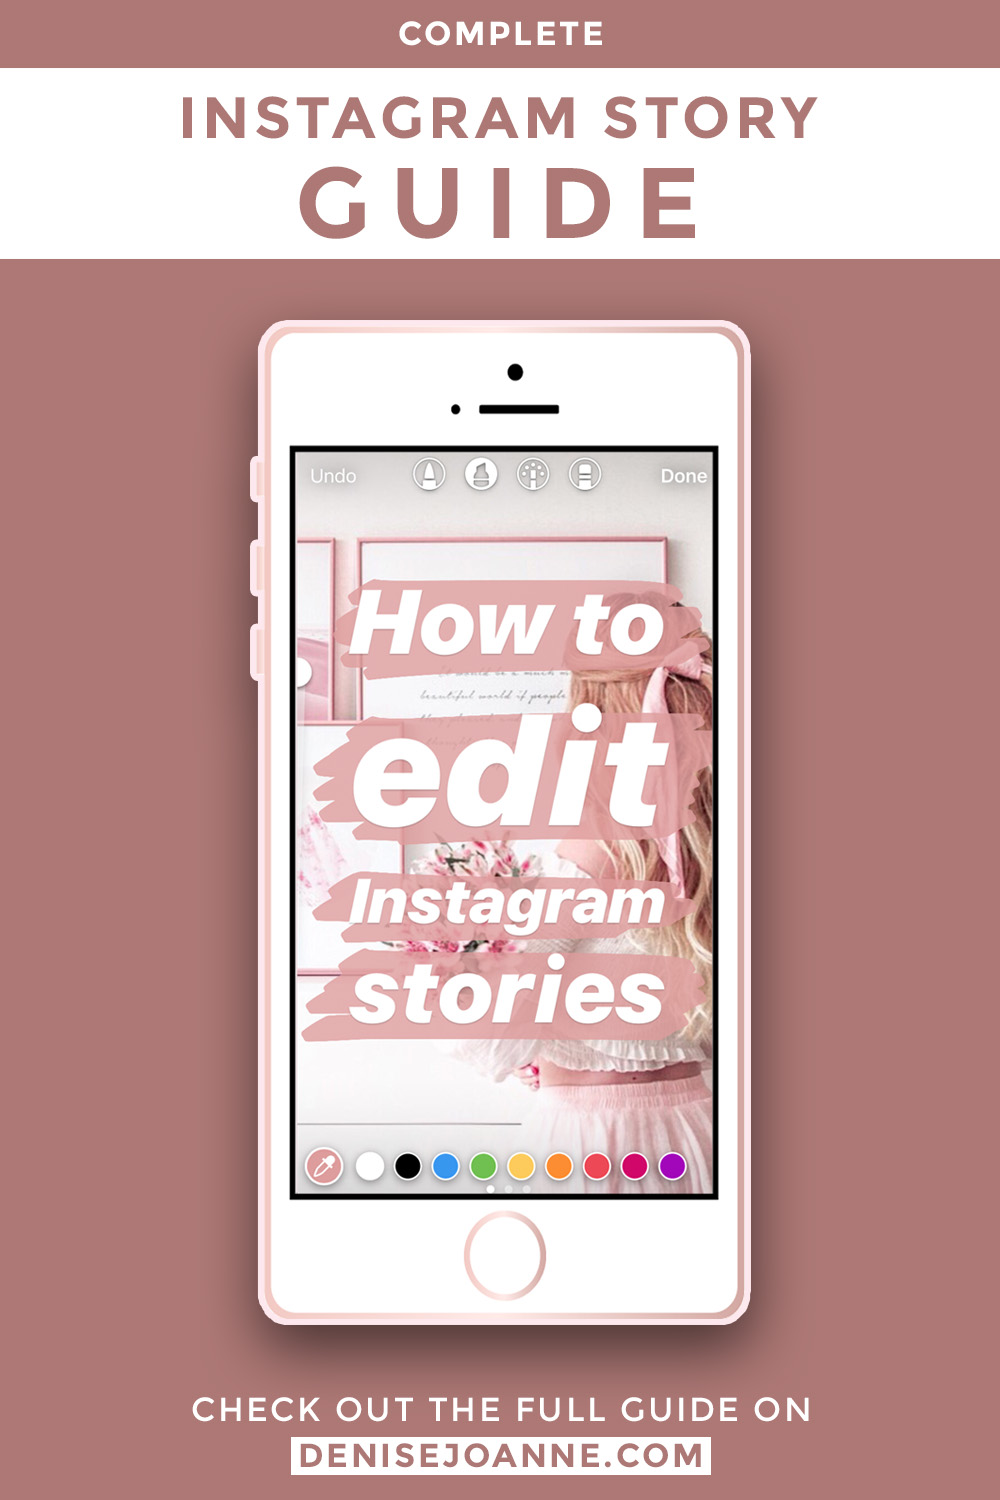
Pens and brushes
Next to the stickers icon, you’ll find a pencil. Another one of my favourite features that allows your creativity to take over! Tap this icon to reveal free hand drawing options. On top you’ll find the different kinds of pencils. From left to right:
- Pen: This is just your basic pen that you can use to write, draw or add lines. It is sensitive to pressure, so the lighter your touch, the thinner the line.
- Marker: The marker creates a slightly transparent, thick line that you can use to mark things.
- Glowing pen: This pen is similar to the regular pen, except it isn’t pressure sensitive and it adds a glow around your line.
- Eraser: Pretty self-explanatory, I’d say!
In the top right corner you’ll find ‘Done’, which you tap when you’re done drawing.
Pen thickness
You might miss this one if you’re not aware of it, but the left side of your screen provides a vertical bar that controls the thickness of your pens. Find the white circle and move it up or down to thicken or shrink the size of your pens.
Pen colours
Along the bottom of the screen you’ll find your colour options. On the left there’s your standard colour picker that you can use to select any colour in your image. Just tap the colour picker and then tap any anywhere in your picture to select that specific colour.
Next to the colour picker you’ll find a handful of standard colours. You can swipe left for more. Can’t find the colour you are looking for? Tap and hold any colour to open a full gradient colour board that lets you select any shade.
Solid colour trick
Did you know you can turn your whole screen one solid colour with just one tap? No need to fill in the screen using your pen! Just select a colour and tap and hold your image. It will turn into one solid colour within a second. Or would you prefer a transparent overlay? Try doing the same with the marker tool selected! If you want to get really creative, you can now use the eraser to create a really neat effect. Try it out and you’ll see what I mean!
Text and fonts
In the top right corner you’ll find the text feature, which allows you to use a selection of fonts. Tap it and type your message. You will notice the colour option will appear again and you’ll also find a few new options on the top of the screen.
Text alignment
The lines in the top left corner allow you to change the alignment of your text to left, right or centered.
Text background colour
Next to that, there’s a little square with glittery A. Tap this icon to add a background colour to your text.
Fonts
In the middle of the top row, you’ll find the option to change your font by tapping until you find something you like. As of right now, there’s the options: Modern, Neon, Typewriter, Strong and Classic.
Drag and resize text
Press ‘Done’ in the top right corner when you’ve finished your text. Now you can drag it to the right place and pinch is to adjust the size. Simply add a new box of text by tapping anywhere on the screen.
Delete text or stickers
Don’t like the end result? You can delete text or stickers by tapping and holding them and then dragging them to the trash bin icon that appears on the bottom of the screen.
Colour filters
One last fun feature I want to mention is the available colour filters. Simply swipe left on your screen repeatedly to go through the filters. There’s some really nice ones that can be applied to both pictures and video clips. As of right now, the available filters are: Paris, Oslo, Lagos, Melbourne, Jakarta, Abu Dhabi, Buenos Aires, New York, Jaipur (my personal favourite!), Cairo, Tokyo and Rio De Janeiro.
Post to your story
Now all that’s left is to post your new creation to your story, so your followers can see it. You can either press ‘Your Story’ in the bottom left corner to instantly post to everyone. Or you can choose to only make this story visible to your list of close friends. If you want to manually select people to send it to, press ‘Send To >’ in the bottom right corner.
Pin this post:
All basic Instagram story features
And that’s all there is to it! These are all the basic features that come with the Instagram story feature.
Did you learn anything new from this?
Love,
Denise


Leave a Reply